
Newsletter Signup
Stay in the know! Get notified of new arrivals, sales and specials straight to your inbox.
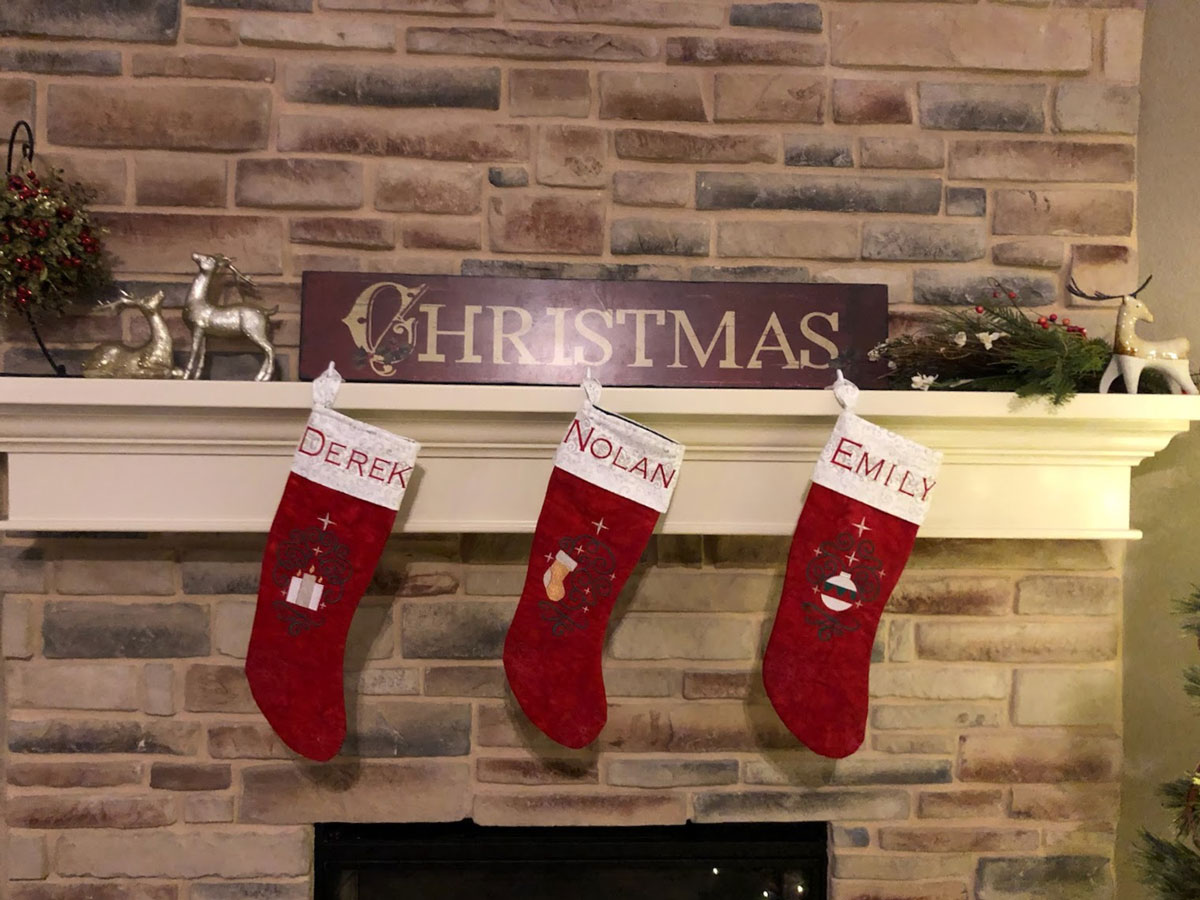
For a few years, I'd been promising my daughter, Emily, I'd make custom Christmas stockings for her family. Every year she'd ask whether it'd be "this year" and, in 2020, it finally was. If I'm making a gift for someone then my rule is it can't feel like work. I have to be, well, in the mood, so to speak, to make it.
I didn't have a pattern so I got out a stocking we've had for years, taped four pieces of copier paper together then traced around it to get the overall shape. I watched several Christmas stocking sewing examples on YouTube before I decided how I wanted to construct it, how the cuff would look, how the hanging loop would be attached, how it would be embroidered and quilted, etc.
I started by creating a small quilt sandwich for the back of the stocking and quilted it in a diagonal grid pattern. I had purchased several yards of a truly beautiful red batik fabric at Sew Simple Quilt Shop the prior month and used it for one the outside of the stocking. The inside fabric of the stocking is some lower cost, cotton quilting fabric that was dark green with small white polka dots. The cuff is white quilting cotton with silver and white metallic filigree that was purchased at JoAnn. After the backing fabric was quilted I traced and cut the pattern of the stocking to create the back. I goofed on the first one forgetting to flip it over so it'd be a mirror image of the front of the stocking. Rookie mistake.
Once I had the backs cut, I created the embroidery files for each stocking front. I had the filigree ornament embroidery designs on hand (I cannot remember from where I originally purchased them) and then added additional stars and swirls using Embrilliance Essentials embroidery software. The font for the names was one purchased from Designs by JuJu (which is where all my favorite BX fonts come from).
Just prior to assembling and turning the stockings I used a small swirl quilted embroidery pattern on each stocking in the heel and toe area of the stocking. I used two layers of medium-weight cut-away stabilizer for the embroidery front and then quilted the top, batting and inside layer of the front of the stocking in the heel and toe area. This made the inside of the stocking completely smooth once turned.
Emily and her family were super happy with the outcome. I love sewing for my family.
Stay in the know! Get notified of new arrivals, sales and specials straight to your inbox.